What Is a Y Plan Wiring Diagram, and Why Does It Matter?

Ever heard your electrician or HVAC technician talk about a “Y plan wiring diagram” and wondered what they meant?
You’re not alone.
When it comes to controlling your home’s heating and hot water, the Y plan system is one of the most common setups.
Understanding how it works and what the wiring diagram tells you can save you money, prevent headaches, and even help troubleshoot issues without calling for backup.
Let’s break it down.
The Basics: What Is a Y Plan Wiring Diagram?
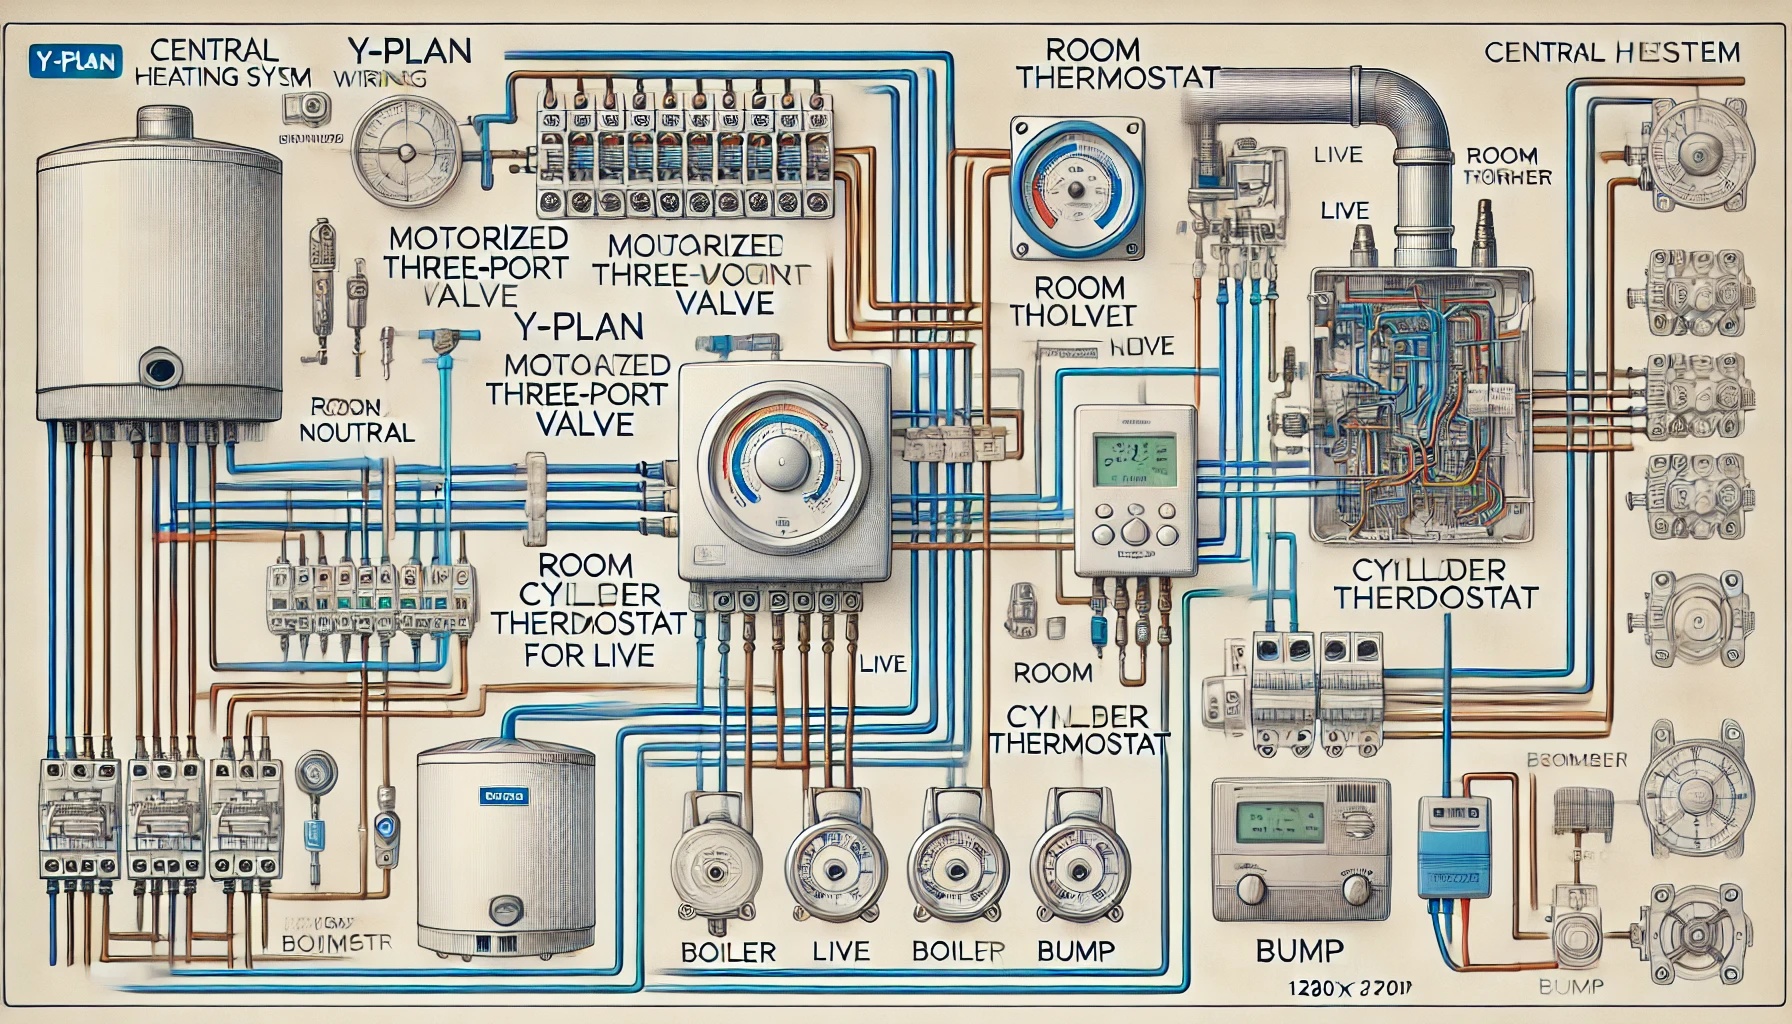
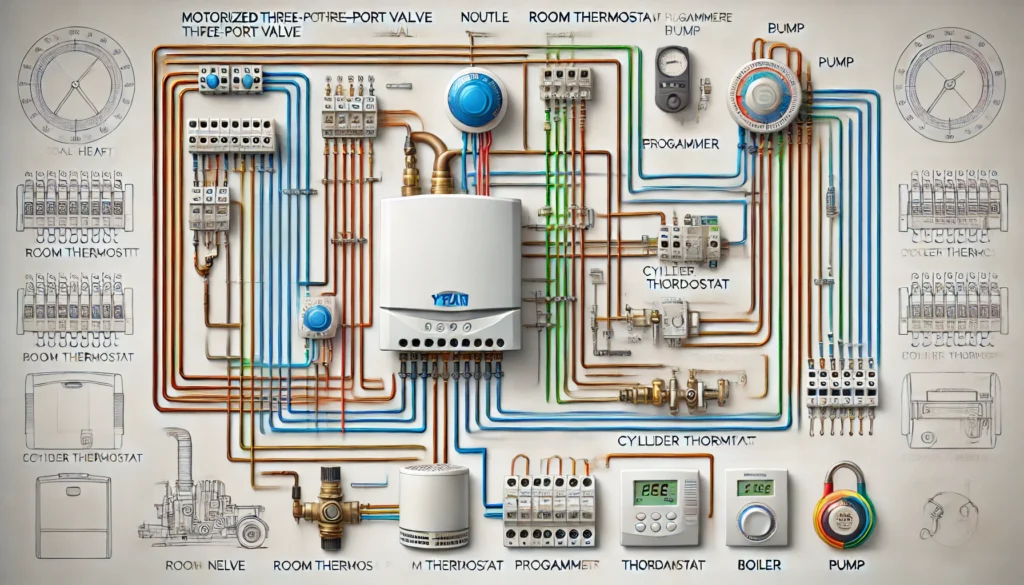
A Y plan wiring diagram is a detailed visual guide showing how the components in a Y plan heating system are connected.
This system uses a three-port valve to manage the flow of hot water to your radiators and taps.
Think of it as the brain behind your heating and hot water setup.
The diagram shows how everything from the thermostat to the programmer and pump are wired to keep things running smoothly.
Why Is It Called a Y Plan?
The term “Y plan” comes from the shape of the piping and valve setup—it literally looks like a “Y” when you view it schematically.
In this system, you have three possible flow directions:
- Hot water only
- Heating only
- Both hot water and heating
The three-port valve makes this possible by diverting the water where it’s needed.
Without it, you’d be stuck with either hot radiators or hot water—not both.
Key Components in a Y Plan Wiring Diagram
Here’s what you’ll find in every Y plan wiring diagram:
The Programmer
This is the control panel where you set your heating and hot water schedules.
It sends signals to the rest of the system to turn things on or off.
Room Thermostat
This monitors the room temperature and tells the system when to heat up or cool down.
Cylinder Thermostat
This keeps an eye on your hot water cylinder, ensuring the water stays at your desired temperature.
Three-Port Motorized Valve
The star of the show!
This valve directs hot water to either the radiators, the taps, or both.
Wiring Center
The hub where all the electrical components connect.
This is where the wiring diagram becomes crucial—one wrong connection here can throw the whole system off.
How to Read a Y Plan Wiring Diagram (Even If You’re Not an Expert)
At first glance, a Y plan wiring diagram can look like a mess of lines and symbols.
But it’s easier than it seems.
- Solid Lines: Represent electrical wires connecting components.
- Symbols: Stand for devices like thermostats, pumps, or the programmer.
- Color Codes: Usually match the wires in your system (e.g., blue for neutral, brown for live).
Start by identifying the main components (programmer, thermostats, valve) and follow the lines to see how they’re connected.

Common Issues with Y Plan Wiring
Sometimes, things don’t work as expected.
Here are a few real-life examples:
- Heating but no hot water?
The valve might be stuck in heating mode, or there could be a loose connection in the wiring center. - No heating or hot water at all?
Check if the fuse has blown or if the programmer is faulty. - Radiators heating up with hot water?
This often means the valve isn’t closing properly, letting hot water flow into the radiators when it shouldn’t.
These problems are easier to troubleshoot when you have the Y plan wiring diagram handy.
Real-Life Example: Why You Need to Know This
A homeowner, let’s call her Sarah, noticed her radiators were heating up every time she ran a bath.
Her first instinct was to call a plumber.
But after pulling up her Y plan wiring diagram, she realized the three-port valve was likely the issue.
A quick look showed a loose wire.
With a bit of guidance from an online tutorial, she fixed it herself—saving both time and money.
Y Plan vs. S Plan: What’s the Difference?
The Y plan is often compared to the S plan, another popular heating system.
Here’s the quick breakdown:
- Y Plan: Uses a single three-port valve.
- S Plan: Uses two separate two-port valves (one for heating, one for hot water).
While the S plan offers more flexibility, the Y plan is simpler and often more affordable to install.
FAQs About Y Plan Wiring Diagrams
Can I rewire my Y plan system myself?
If you’re confident with basic wiring, you might be able to handle it.
But for safety, it’s always best to consult a qualified electrician.
What tools do I need to check a Y plan wiring diagram?
- Multimeter to test circuits.
- Screwdrivers to access the wiring center.
- A printed copy of your system’s specific wiring diagram.
Where can I find a Y plan wiring diagram?
Check your boiler or programmer’s manual.
If you’ve misplaced it, manufacturers often provide these online.
How long does it take to fix a wiring issue?
For minor problems like loose wires, it could take less than an hour.
More complex issues might need a professional and could take a day or more.
Why Understanding the Y Plan Wiring Diagram Saves You Hassle
Let’s face it: No one wants to be in the dark when their heating system fails.
Knowing your way around a Y plan wiring diagram can help you spot and solve issues before they spiral into expensive repairs.
Whether it’s a quick DIY fix or guiding your technician, a bit of wiring knowledge goes a long way.
So, the next time someone throws around terms like “three-port valve” or “programmer,” you’ll know exactly what they’re talking about.
The Y plan wiring diagram isn’t just a bunch of squiggly lines—it’s your home heating’s blueprint.
Understanding it might just save you some serious cash.


